FIELD NOTES / BEGIN HERE
Your first night-sky photo: fix the problem before buying gear
A practical way to troubleshoot blurry stars, noisy images, and a sky that refuses to look like the photograph in your head.
BY MIKE BASSO · OCTOBER 1, 2026
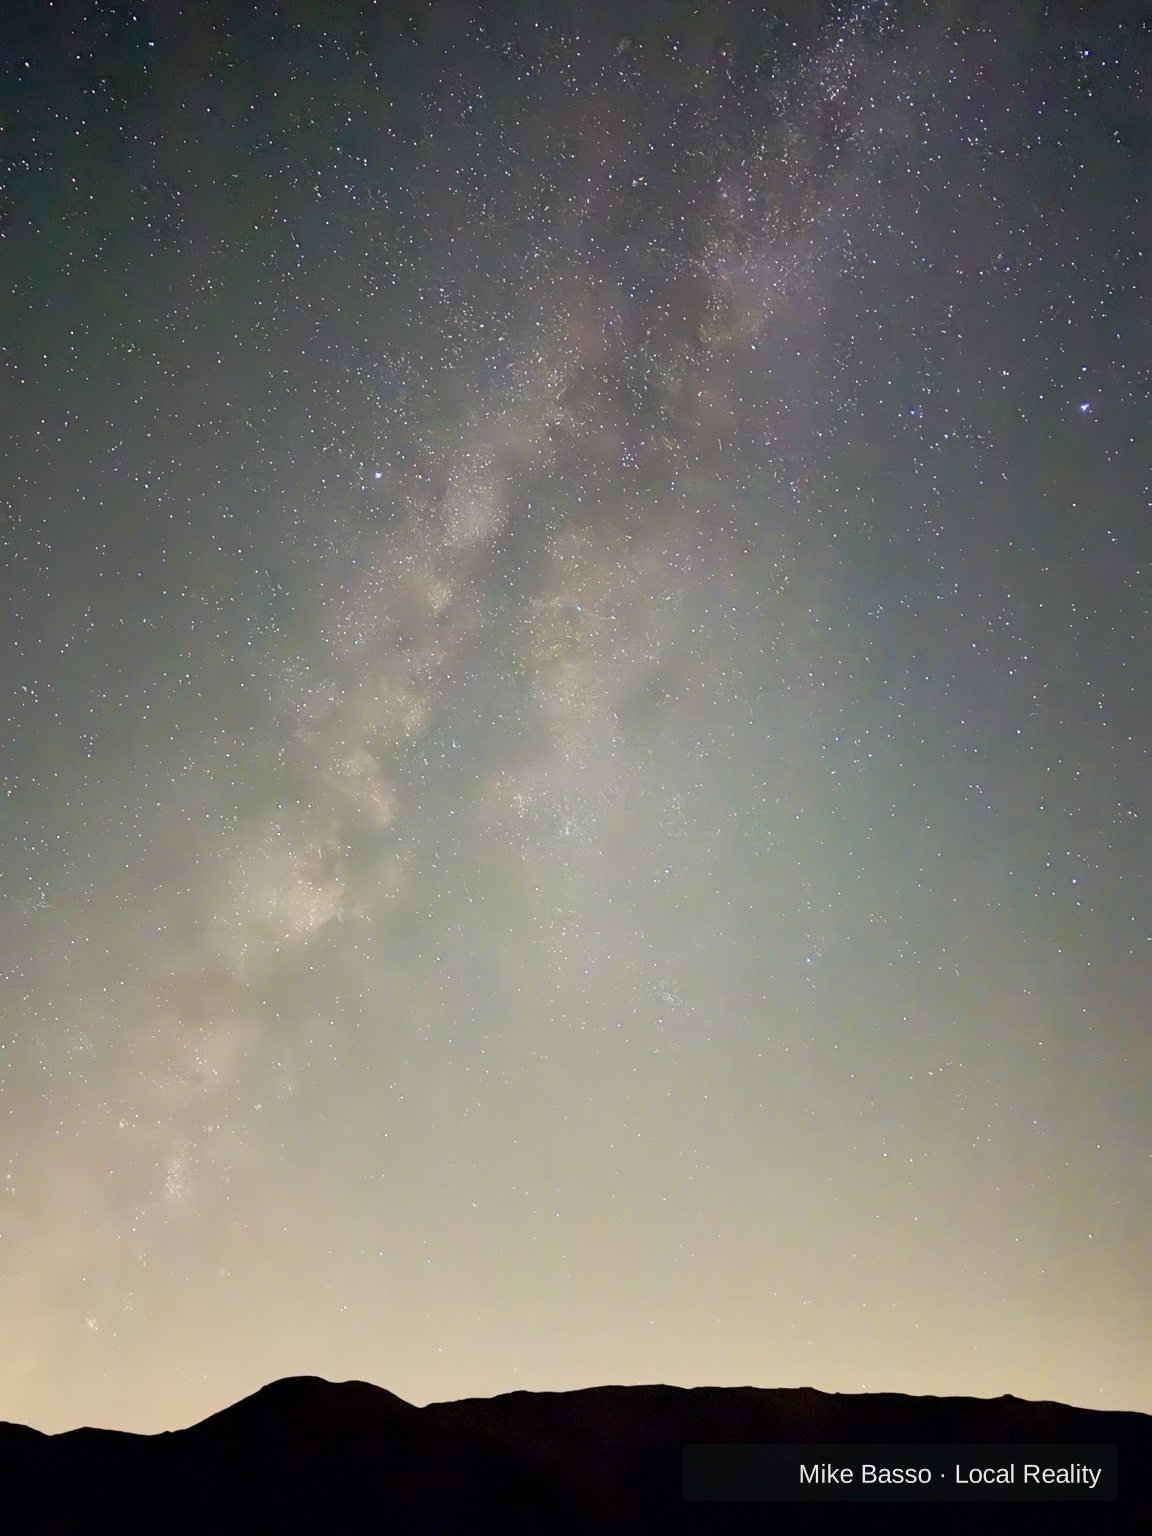
Get one steady frame first
Start with a stable support and a timer or remote shutter release. Keep the camera still throughout the exposure. On a supported iPhone, Night mode activates in low light; a steady phone can allow a longer capture. A hand-held image and a tripod image are different tests.
For a camera, change one setting at a time
For an untracked wide-angle sky photograph, begin with a wide aperture, a short test exposure, and an ISO that produces a usable preview. There is no universal combination. Focal length, sensor, sky brightness, tracking, and your tolerance for star movement all matter. Inspect the actual image before extending the exposure.
Focus is a separate job
Autofocus can struggle in the dark. If manual focus is available, magnify a bright star in live view and make small adjustments until it looks as compact as possible. An infinity mark is a starting point, not a guarantee. Check focus again if you touch the lens or conditions change.
The Moon needs a different approach
A bright lunar disk can turn into a white blob with a long sky exposure. Reduce exposure and check surface detail. If using a phone through an eyepiece, align and support it carefully. A successful Milky Way exposure is not automatically a successful Moon exposure.
Keep the test that taught you something
Look at star shape, focus, highlights, and noise before judging the whole photograph. Take another frame after changing one variable, then compare. Editing helps presentation, but it cannot restore focus that was never captured or detail lost in a clipped highlight.
What went wrong?
Sources and further reading
General guidance informed by these sources; they do not endorse Local Reality.